(-9.2,2.3)
(-9.6,-0.9)
(-8.2,5.2)
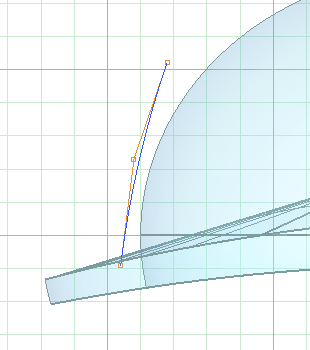
1. Draw a Curve for the profile of the logo panel
Logo Panel
(-9.2,2.3)
(-9.6,-0.9)
(-8.2,5.2)

1. Draw a Curve for the profile of the logo panel
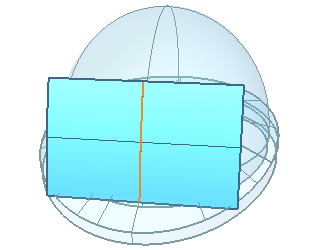
2. ExtrudeCrv the curve using the BothSides option, by 5 units.
3. Delete the curve just extruded.

4. Use ChangeDegree on the logo panel surface and raise it's Degree to 5 in both directions.
5. Turn on its control points.
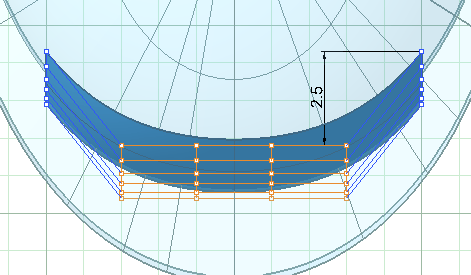
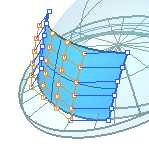
4. Nudge these points back 2.5 units.
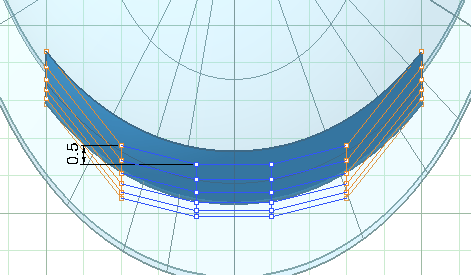
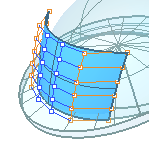
5. Nudge these points forward 0.5 units.
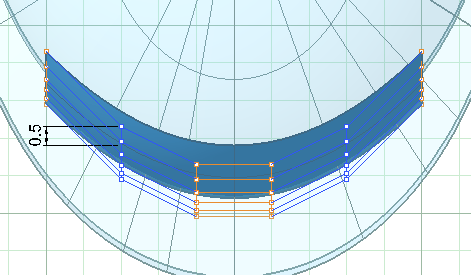
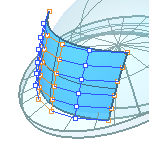
6. Finish by nudging these points back 0.5 units.
(3.3,2.0)
(3.4,-1.0)
(2.5,5.0)
(0,5.0)
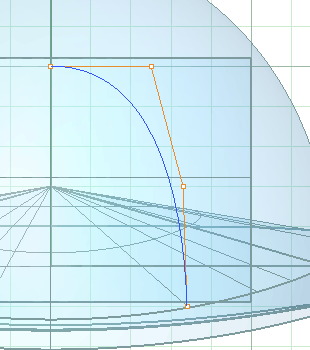
7. Draw a Curve for the front profile of the logo panel
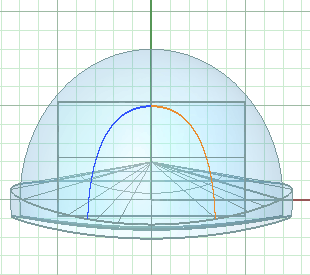
8. Mirror the curve about the Y axis.
9. Join the curve halves.
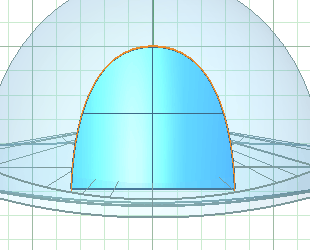
9. Join the curve halves.
10. Trim off the logo panel surface.
(These sample videos are hosted on YouTube, so the quality isn't the best. For full-quality video you can download a more extensive "demo CD" here)
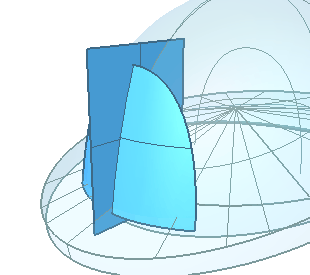
11. Draw a CutPlane through the logo panel along the world Y axis.
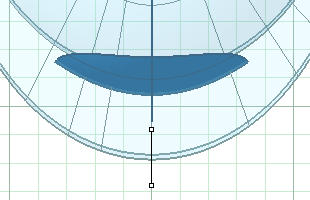
Of course in this case it would have been just as easy to draw a Plane in a side view, but this is one of those commands you may find handy sometimes but not think of using.
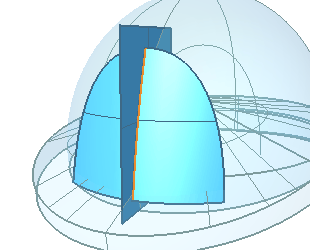
13. Select half of the split panel and hit Copy.
12. Split the logo panel with the plane.
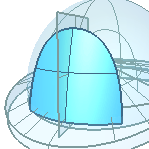
We did this little loop-d-loop because we're going to work on a susequent surface in half and want a single edge to snap to and use as a boundary. It will be discarded later. I use this often to have a copy of an object that gets changed and have an alias to "!_CopyToClipboard _Undo _Paste." The underscores let this alias work in non-english versions of Rhino.
15. Paste the half panel surface.

14. Undo the splitting operation.
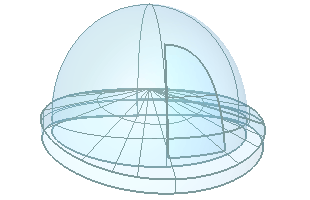
16. Hide the full panel surface for now.
17. Delete the CutPlane surface and the curve used to trim the panel.